
|
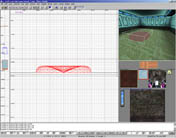
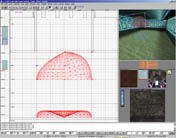
Getting started with HMF2Radiant, Part 4-- Iceheart Finishing touches This tutorial uses the map file from part 3, if you do not have it, download it here. Now we will add some finishing touches to the map as well as showing some more advanced mapping tools; clipping and patches in particular. The large room room looks a little empty, doesn't it? Well... Let's liven it up a little, how about a nice looking (weird) statue in the middle? Ok, to do this we will need to use patches a little. Start by making a box about 256x256x128 units big in the center of the room (see image). For a little strange look I used the "shield/glass" texture. Now go to the "Curve" menu, hit "Primitives" and "Cone". This will make the box into... Tada! A cone! Let's hit the V key to get to vertex manipulation mode, switch to side view and pull the top vertex all the way down to the floor. This makes for a rather odd recess where we can place something else, so let's place a sphere there. Make a box 256x256x128 and keep it selected. Now if you look in the "Curve" menu you'll see that the "Sphere" command is blanked out, why? Don't ask me... It just is. To get around this make a cone and enter vertex manipulation mode. In the side view, move the outer middle vertexes up to the top (check image), switch views and repeat. Clone
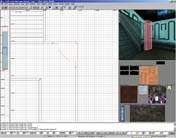
the brush and use the Z-Flip ( Let's add some cool corners to this room now, make a brush 64x64xRoom Height and place it in a corner. Hit X to bring up the clipping tool. Click the LMB to place a clip point. The line defined by the two points (or three, but that's a bit more complicated) is like an infinite knife that will cut all the selected brushes. Place two points as the image shows, remember that you always cut clockwise, that is important. Hit Enter to apply the clip. Clone the corner piece and place some more wherever you wish. I placed two of them along the walls as well. For further reading: claudec's lair of Q3A Level Design - Virtually complete listing of Quake 3 tutorials, since FAKK² uses Q3A engine technology, most tutorials here applies to FAKK² as well. The Node - Complete SiN scripting reference. This script language is nearly identical to the Morpheus script FAKK² uses. Good tutorials on Doors and Clipping as well. |
|
|
The
box
|
|
 |
|
|
Recess
|
|
 |
|
|
Compare
the two sides of the cone.
|
|
|
The
weird thing is done!
|
|
 |
|
|
Clipping
plane
|
|
|
Done
|
|
| <Previous part | Next part> |